The Ultimate Pendant Lighting Buying Guide: Size, Style & Install Perfectly
The Mathematics of Pendant Lighting (Sizing & Scale)
One of the biggest mistakes homeowners make is buying a light that is the wrong size. A tiny light in a huge room looks lost, while a massive fixture in a small nook feels overwhelming. Luckily, you don’t have to guess. There are simple formulas to help you get it right every time.
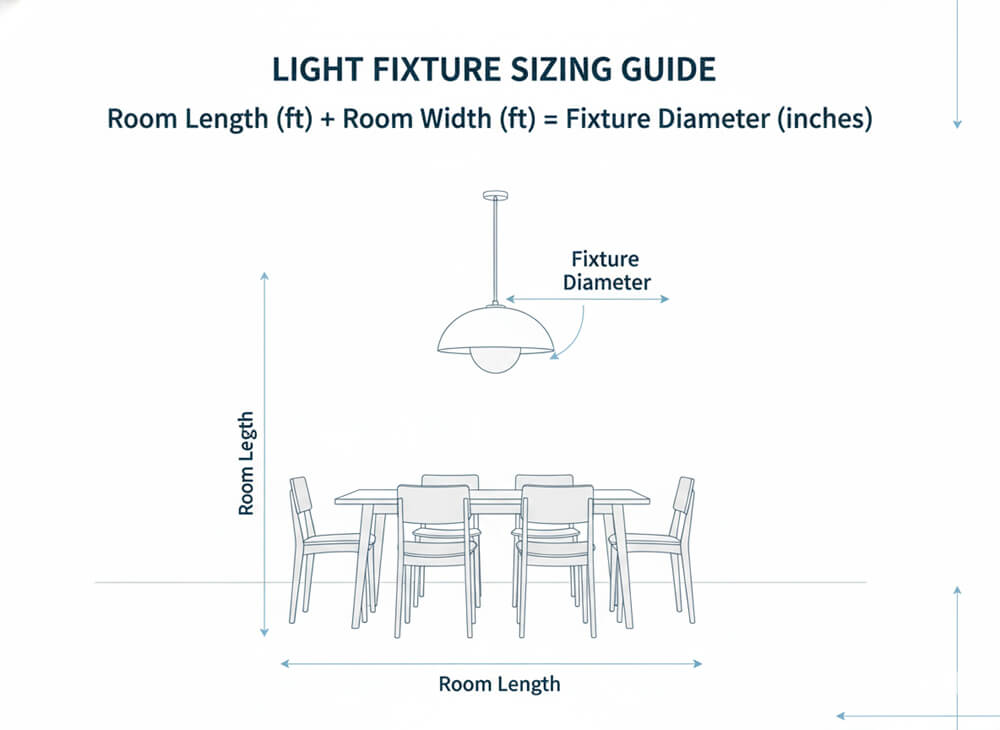
1.1 The “Room Addition” Formula
If you are hanging a pendant in the center of a room (like a living room or bedroom) to provide general light, use this easy math trick:
- Measure your room’s length and width in feet.
- Add those two numbers together.
- Swap “feet” for “inches.”
Example: If your living room is 12 feet by 14 feet, add 12 + 14. You get 26. This means a pendant light with a diameter (width) of about 26 inches is perfect for that space.
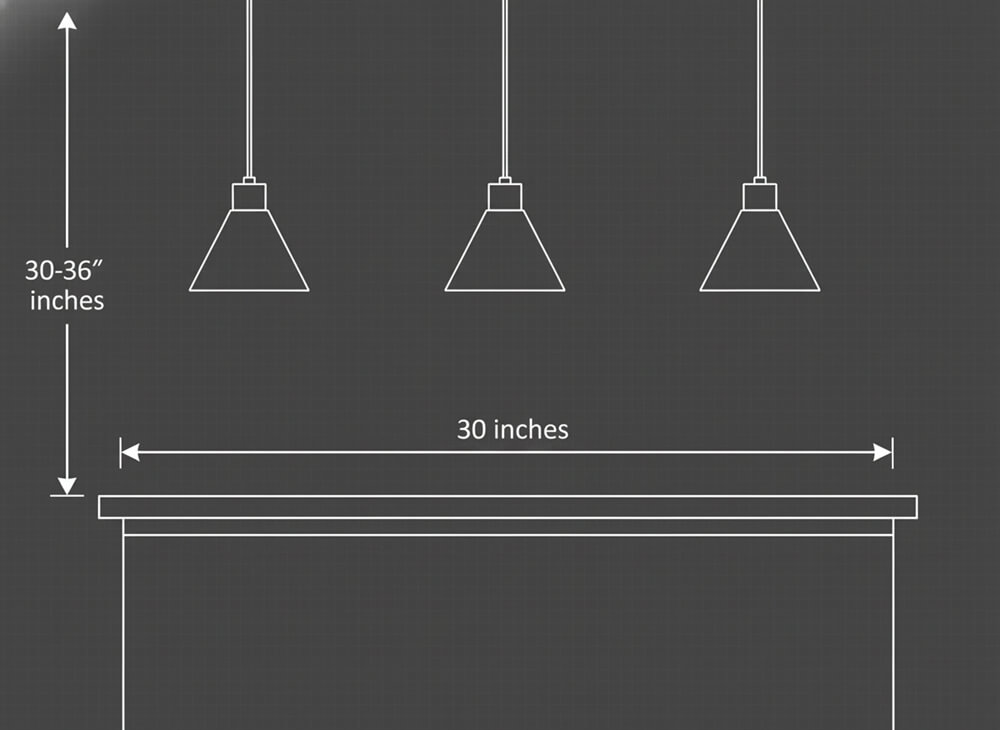
1.2 The “Minus 12” Rule for Tables
Lighting over a surface, like a kitchen island or a dining table, requires a different approach. You never want the light to be wider than the table itself—that creates a risk of bumping your head!
The Rule: Measure the width of your table or island and subtract 12 inches. This ensures you have 6 inches of clearance on both sides.
Example: If your island is 36 inches wide, subtract 12. Your maximum pendant width is 24 inches.
1.3 Cord Length and Ceiling Height
How much cord do you need? This is a common pain point. If you have standard 8-foot ceilings, you have plenty of options. But for high ceilings, you need to plan ahead.
A general rule of thumb for finding the fixture height (including the cord) is to multiply your ceiling height (in feet) by 2.5 or 3. This gives you a range in inches for the total height of the fixture.
Pro Tip: Always order a little extra cord length (about a foot extra) if you aren’t sure. It is much easier for an electrician to hide extra wire in the canopy than to try and extend a wire that is too short.
Below is a quick reference guide for how many pendants you can fit over different island sizes:
| Island/Table Length | Recommended Pendants | Ideal Spacing Between Lights |
|---|---|---|
| 4 Feet (48″) | 2 Small Pendants | 18 – 20 inches |
| 6 Feet (72″) | 2 Medium or 3 Small Pendants | 24 – 30 inches |
| 8 Feet (96″) | 3 Medium Pendants | 30 inches |
| 10 Feet (120″) | 3 Large or 4 Medium Pendants | 30 – 36 inches |
Positioning and Placement Rules
Now that you have the right size, where exactly do you put it? Placement is key to functionality. If it’s too low, it blocks your view. Too high, and the light gets lost.
2.1 The “Goldilocks” Height Zone
For most surfaces, there is a sweet spot for hanging lights:
- Kitchen Islands & Dining Tables: The bottom of the light fixture should be 30 to 36 inches above the surface of the counter or table. This allows you to see the person sitting across from you without a light bulb in your face.
- Open Floor Areas: If people are walking underneath the light, leave at least 7 feet of clearance from the floor to the bottom of the fixture.
- Bedside Tables: If you are using pendants instead of table lamps (a great space saver!), hang them so the bottom is 18 to 24 inches above the nightstand.
2.2 The Balloon Test
Before you drill any holes, try this simple trick. Blow up a balloon to roughly the size of your new light. Tie it to a string and tape it to the ceiling. Adjust the string length until it looks right. Stand back, sit down, and walk around. This visual aid is a lifesaver for visualizing height and spacing without lifting a heavy fixture.
2.3 The Rule of Odd Numbers
Designers love odd numbers. Groups of three or five pendants create a “center” point that is pleasing to the eye. Even numbers can work, but they tend to look more formal and structured. If you have the space, aim for three lights spaced evenly.
The Glossary of Pendant Types and Styles
Pendants are like shoes—there are different styles for different occasions. Understanding the “anatomy” of these lights will help you pick the right one for the job.
3.1 Functional Types
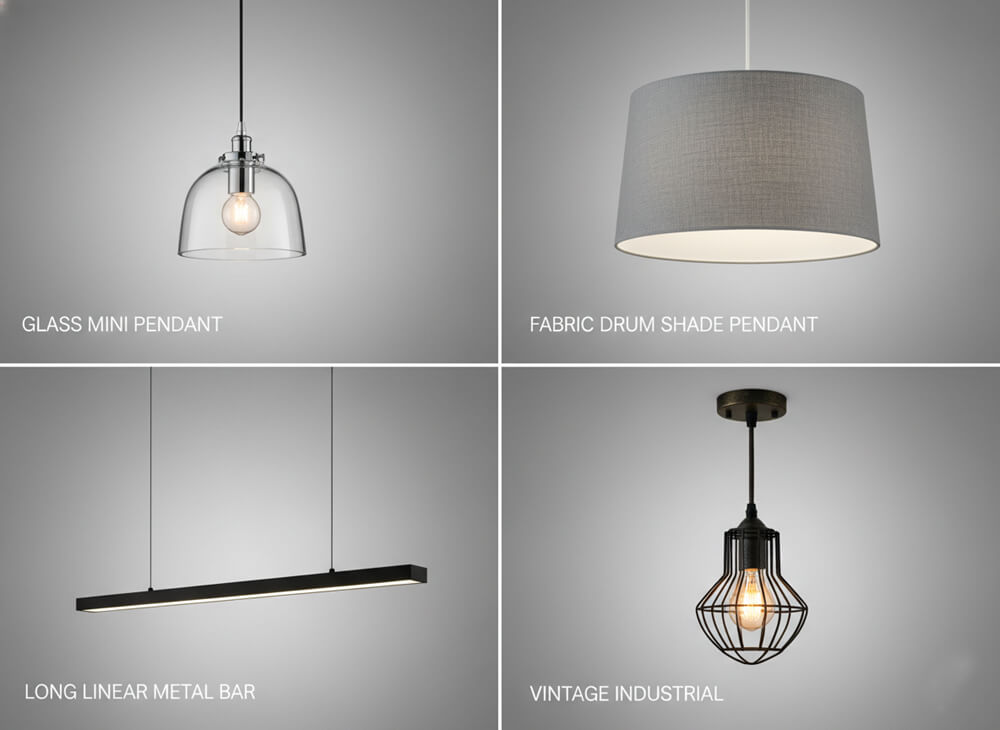
- Mini Pendants: These are small and slender. They are rarely used alone. Use them in clusters or rows over a kitchen bar or sink. They are great for “task lighting”—lighting up a specific workspace.
- Drum Pendants: These feature a cylindrical shade, often made of fabric. They act like a diffuser, spreading soft light all over the room. These are perfect for ambient lighting in a bedroom or living room.
- Linear Pendants: Instead of a single round light, this is one long fixture (often a bar). These are trendy and practical for long rectangular dining tables or large kitchen islands.
- Inverted Pendants (Uplights): These look like a bowl hanging from chains. The open part faces the ceiling. This bounces light upward, creating a soft glow without any harsh glare. Great for entryways.
3.2 Aesthetic Styles
Your lighting should match your home’s personality. Here are the top trending styles:
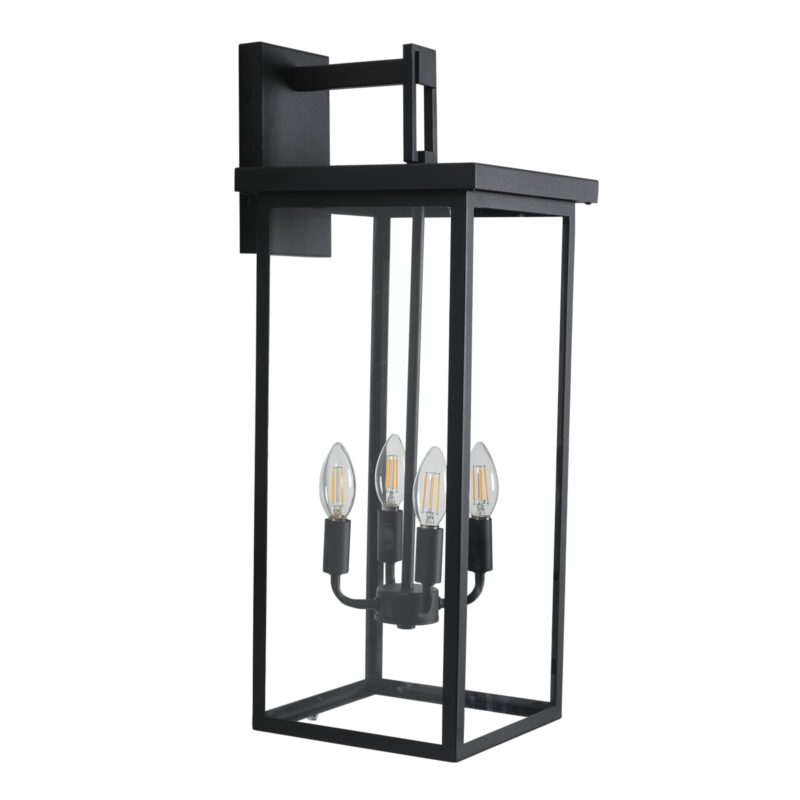
- Modern/Minimalist: Think clean lines, geometric shapes, and matte black or white finishes. No clutter, just function and form.
- Industrial/Rustic: This style features exposed bulbs, raw metal cages, and weathered wood. It brings a cool, “warehouse” vibe or a cozy barn feel.
- Farmhouse: A blend of rustic and traditional. Look for wood accents, oil-rubbed bronze, and simple glass jars.
- Art Deco/Vintage: If you love nostalgia, look for Tiffany glass, brass finishes, and intricate details that feel like the 1920s.
Materials, Finishes, and Shades
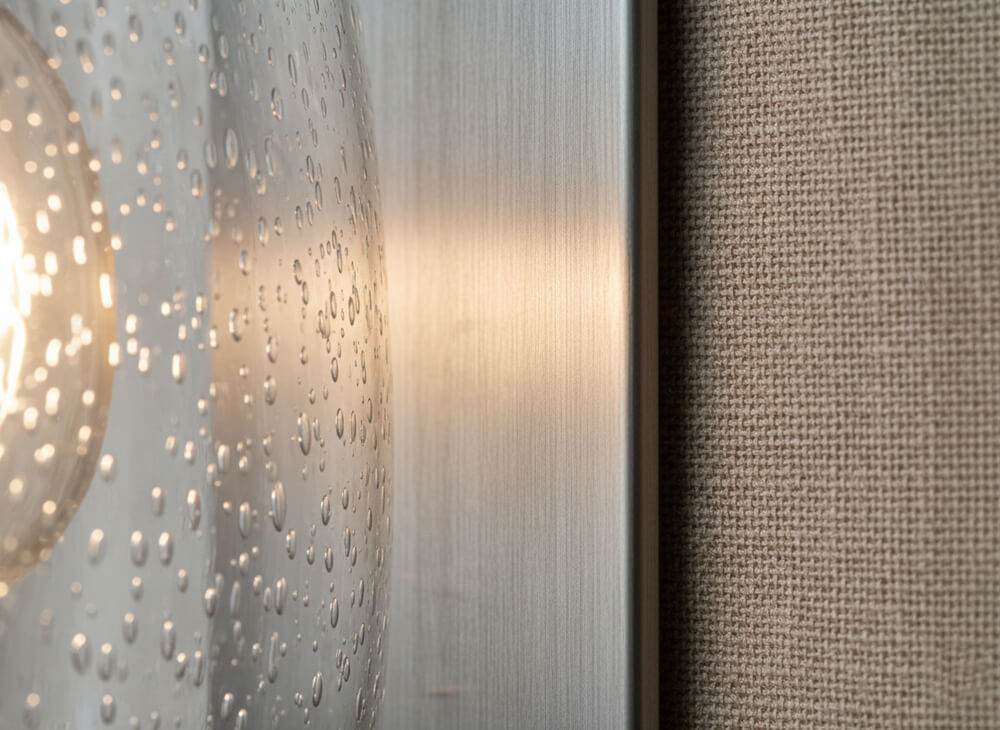
The material of your pendant doesn’t just change the look; it changes the light quality. A metal shade will focus light down like a flashlight, while a glass shade will glow in all directions.
4.1 Material Characteristics
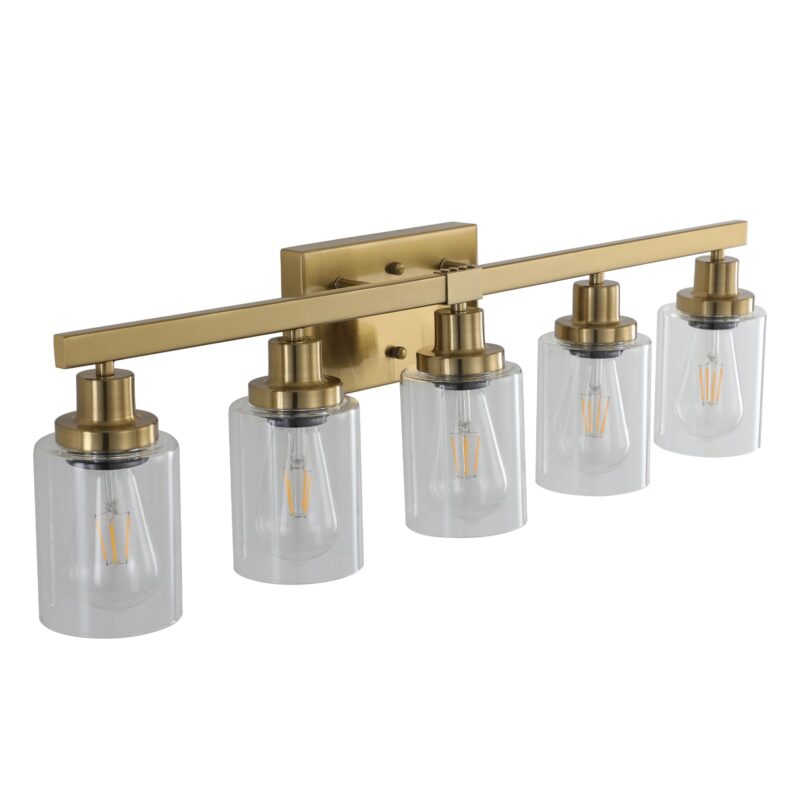
- Clear Glass: Provides the most light but can cause glare. Use decorative “Edison” bulbs to keep it looking stylish.
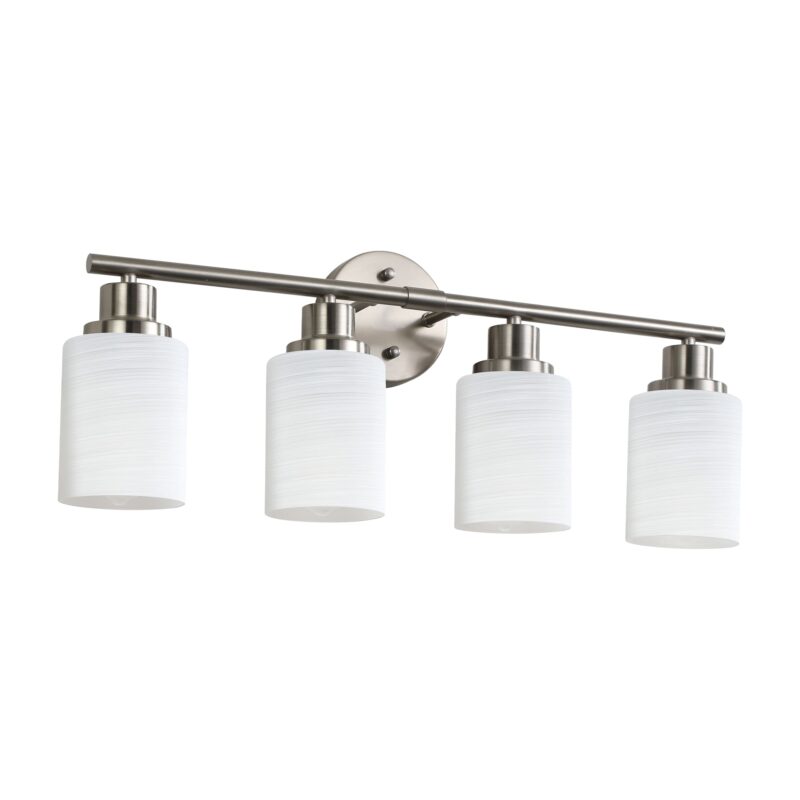
- Frosted Glass: Softens the light and hides the bulb. Great for a modern, clean look without the harsh brightness.
- Metal: Blocks light from the sides. This creates strong directional light downward. Perfect for cutting vegetables on an island but not for lighting a whole room.
- Fabric: Adds texture and warmth. However, be careful using fabric in the kitchen—grease and dust can be hard to clean off linen shades.
4.2 Mixing and Matching Finishes
Should your light match your faucet? It doesn’t have to be an exact match, but it should complement it. If you have brushed nickel cabinet handles, a brushed nickel light is a safe bet. However, mixing metals is very trendy right now. Black fixtures look amazing with gold or brass hardware. Just try to stick to one dominant metal and one accent metal.
Technical Specifications (Bulbs & LEDs)
You can buy the most beautiful fixture in the world, but if you put the wrong bulb in it, it will look terrible. Let’s talk about the tech side of things.
5.1 LED vs. Incandescent
Gone are the days of energy-guzzling bulbs. LEDs are the standard now. They save money and last for years. However, you need to choose between “Integrated LED” (where the light is built into the fixture) and “Retrofit” (where you screw in a standard LED bulb). Retrofit is often better for homeowners because if the bulb dies, you just replace the bulb, not the whole fixture.
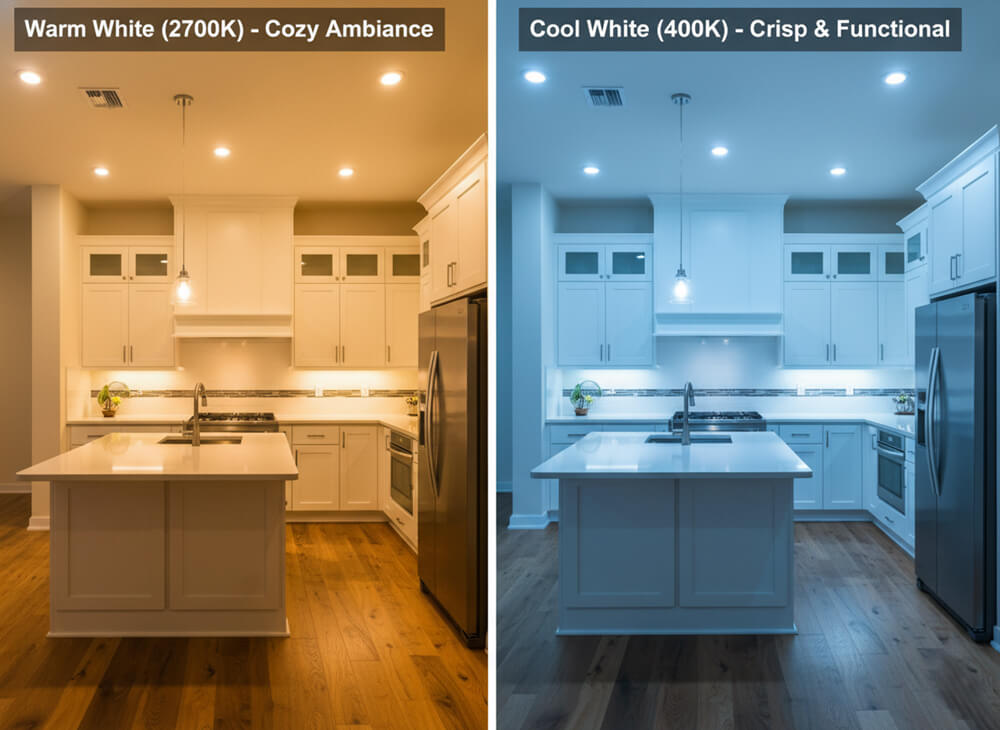
5.2 Color Temperature (Kelvin)
Have you ever bought a bulb that looked like hospital lighting? That is because the “Kelvin” (K) was too high.
- 2700K – 3000K (Warm White): Cozy, inviting, slightly yellow. Perfect for living rooms and bedrooms.
- 4000K – 5000K (Cool White): Bright, crisp, alert. Great for task lighting in the kitchen or office.
Here is a cheat sheet for lighting power:
| Room | Suggested Brightness (Lumens) | Suggested Color Temp (Kelvin) |
|---|---|---|
| Kitchen Island | 4,000 – 5,000 Lumens total | 3500K – 4000K |
| Dining Room | 3,000 – 4,000 Lumens total | 2700K – 3000K |
| Bedroom | 2,000 – 3,000 Lumens total | 2700K |
| Living Room | 2,000 – 3,000 Lumens total | 2700K – 3000K |
Pro Tip: Always install a dimmer switch! It allows you to go from “homework brightness” to “dinner party ambiance” in seconds. Make sure your LED bulbs are labeled “Dimmable.”
Room-by-Room Buying Strategy
Every room has different needs. Here is how to strategize your purchase.
6.1 The Kitchen (The Hub)
The kitchen is where the work happens. You need bright light. Metal shades or glass globes are popular here because they are easy to wipe clean. Avoid intricate crystals or fabric that will trap grease. Focus on “downlights” that illuminate your cutting board.
6.2 The Dining Room
This is where you want drama. A large multi-light pendant or a linear bar works well. Since you don’t need intense brightness for eating, you can choose frosted glass or linen shades to diffuse the light. This creates a softer, more flattering atmosphere for guests.
6.3 The Bathroom (Safety First)
Can you put a pendant in the bathroom? Yes, but be careful. Electricity and water do not mix. You need to check the “IP Rating” (Water and Dust Protection).
- Zone 0/1 (Inside shower): Do not put standard pendants here.
- Zone 2 (Near sink/tub): Look for IP44 rated fixtures which can handle splashes.
Pendants look stunning hanging on either side of a vanity mirror, providing excellent lighting for makeup and shaving.
Installation Guide (DIY vs. Pro)
Installing a pendant light is a manageable DIY project if you are comfortable with basic tools. However, if you have high ceilings or complex wiring, hiring a pro is worth the cost.
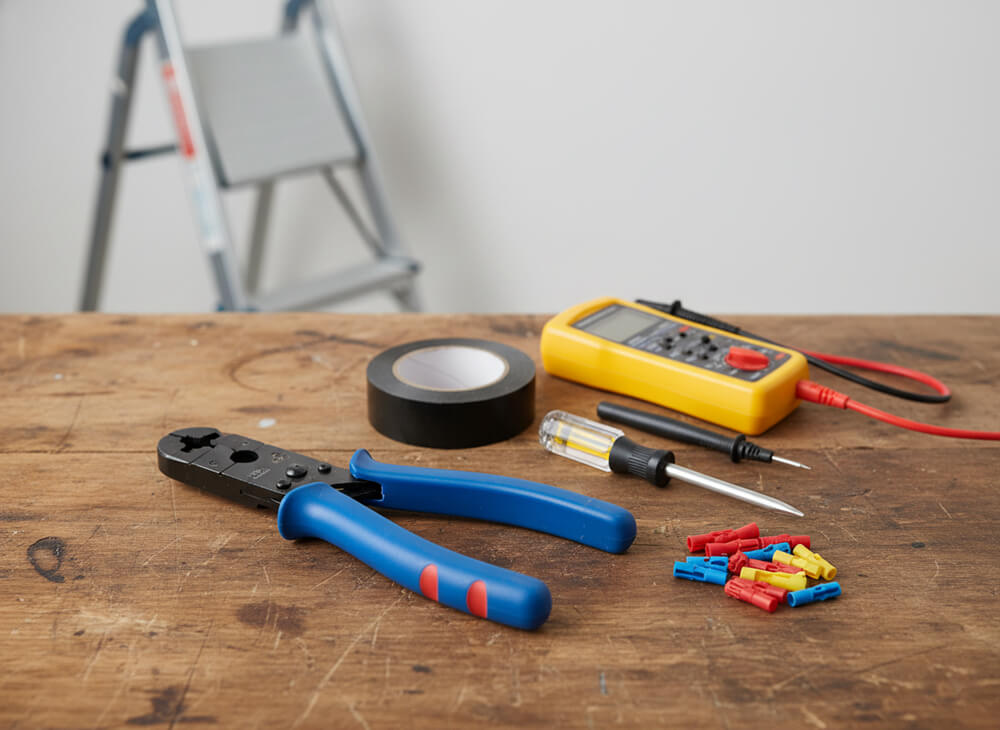
7.1 Tools You Will Need
- Voltage Tester (Essential for safety!)
- Wire Strippers
- Screwdriver
- Ladder
- Electrical Tape
7.2 Basic Steps
- Turn off the Power: Flip the breaker at your electrical panel. Use the voltage tester to double-check the power is truly off.
- Mount the Bracket: Screw the mounting bracket into the ceiling junction box.
- Connect Wires: Match the colors. Black wire goes to Black (Live). White goes to White (Neutral). Green or bare copper goes to the Ground screw. Secure them with wire nuts.
- Adjust Cord: This is the tricky part. Decide your height before you hang it. You may need to cut the wire or stuff the excess into the canopy.
- Finish Up: Secure the canopy to the ceiling, screw in the bulb, and turn the power back on.
7.3 Troubleshooting Flickering Lights
If you turn it on and it flickers, don’t panic. Check these three things:
1. Is the bulb screwed in tight?
2. Is the bulb compatible with your dimmer switch? (Old dimmers often don’t work with new LEDs).
3. Are the wire connections loose? (Turn power off again before checking!).
Maintenance and Cleaning
To keep your lights sparkling, you need to clean them. But different materials need different love.
- Glass & Crystal: Use a mix of water and vinegar. Spray it on a cloth (not directly on the light) and wipe. This prevents streaks.
- Fabric Shades: Do not use water! It can stain. Use the brush attachment on your vacuum cleaner or a lint roller to remove dust.
- Raw Metal: If you have an industrial-style fixture made of raw metal, water can cause rust. Use a tiny bit of WD40 on a cloth to clean and protect it.
- Feather or Paper Lights: These are delicate. Use a hair dryer on the “Cool” setting to gently blow the dust away.
Conclusion
Pendant lighting is more than just a way to see in the dark. It is a powerful design tool that defines your space. Whether you are going for a sleek modern kitchen island or a cozy farmhouse bedroom, the right pendant makes all the difference.
Remember the golden rules: Measure your room first, use the “minus 12” rule for tables, and always double-check your height before cutting the cord. By focusing on both the math and the style, you can create a home that feels professionally designed.
Ready to transform your home? Don’t let your ceiling be an afterthought. Explore our curated collection of high-quality pendant lights today and find the perfect piece to elevate your style.
Frequently Asked Questions (FAQ)
1. Can I install a pendant light on a sloped ceiling?
Yes, but you need the right hardware. Look for pendants that hang by a cord or a chain, as gravity will naturally pull them straight down. If the pendant uses a rigid metal rod (stem), you must ensure the ceiling canopy has a “swivel” or “ball joint” adapter that allows it to hang straight on an angle.
2. What is the difference between a pendant and a chandelier?
The main difference is the light source. A pendant typically hangs from a single cord, chain, or rod and often has one primary light source (though multi-light pendants exist). A chandelier is usually more complex, featuring multiple arms and branches holding many bulbs, and serves as a decorative focal point rather than task lighting.
3. Do pendant lights provide enough light for a whole room?
A single pendant light is usually not enough to light an entire large room on its own. They work best when “layered” with other lighting, such as recessed pot lights or floor lamps. However, a “drum pendant” or a large “multi-light pendant” with bright LED bulbs can serve as a strong primary light source for smaller rooms.
4. How do I fix a pendant light that hangs crooked?
This is common with new lights, especially those with cords. First, ensure the mounting bracket is tight against the ceiling. If the cord is kinked from being in the box, you can gently use a hair dryer (warm, not hot) to soften the cord and straighten it out. Gravity will usually straighten it further over time.
5. Can I use pendant lights in a bedroom instead of lamps?
Absolutely! Hanging pendants on either side of the bed is a huge trend. It clears up space on your nightstand for books and phones. Just make sure to hang them low enough (about 18-24 inches above the nightstand) so the light is focused where you need it for reading, and install a switch within reach of the bed.