Is your bathroom lighting feeling a little… dated? A little dim? You’d be amazed at what a difference a new vanity light can make. It’s more than just a fixture; it’s the centerpiece of your morning routine, the source of light for applying makeup or getting a clean shave, and a powerful tool for setting the entire mood of your space. Changing it is one of the quickest, most affordable, and most impactful DIY projects you can tackle. It’s an instant upgrade.
Now, I get it. The idea of working with electrical wiring can feel intimidating. But here’s the good news: if you can follow directions and use a screwdriver, you can do this. I’ve installed more than a few of these myself, and I’m here to walk you through every single detail. This guide is designed to give you the confidence to complete the job safely and successfully. We’ll cover everything—from picking a style you love to the final, satisfying flick of the switch.
Think of this as your complete playbook. We’ll start with the fun part—planning and design. Then, we’ll move through the non-negotiable safety checks, the detailed step-by-step installation, and even what to do if things don’t go perfectly. But let’s agree on one thing right now: safety is our top priority. We will never cut corners when it comes to electricity. By the end of this, you’ll not only have a brighter, more beautiful bathroom, but you’ll also have the pride of knowing you did it yourself.
Table of Contents
The Planning Phase: Setting Yourself Up for Success
Great results start with a great plan. Before you even think about touching a wire, let’s spend some time on preparation. This is where you make all the key decisions that ensure your project goes smoothly and the final result looks professional. We’ll cover choosing the right light, gathering your tools, and figuring out the perfect placement.
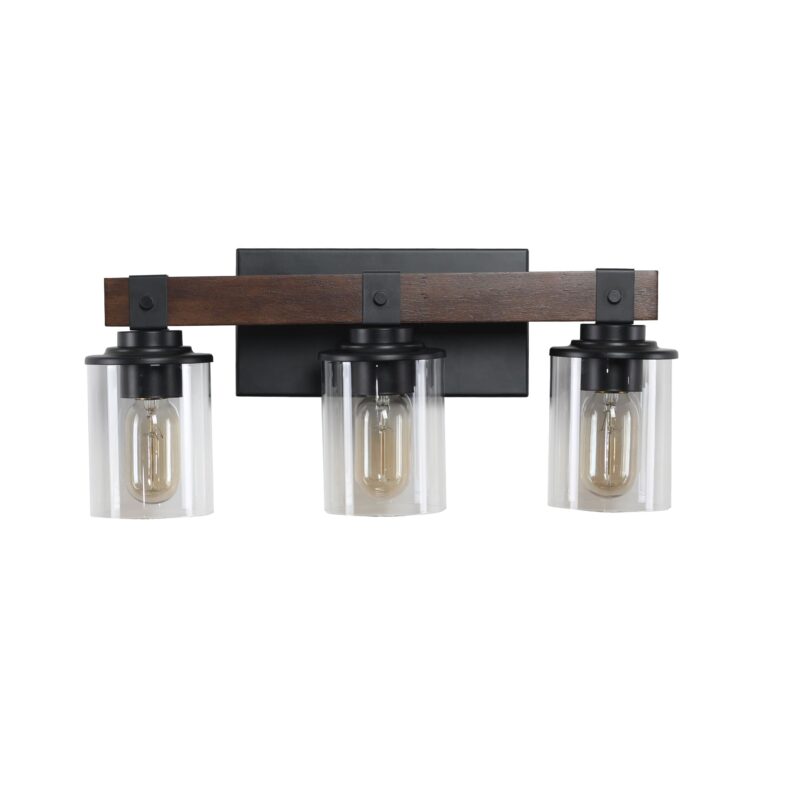
How to Choose the Right Bathroom Vanity Light
The right fixture does more than just light up the room—it completes the look. But with so many options, how do you choose? Let’s break it down.
Style and Aesthetics
Your vanity light should complement your bathroom’s existing decor. Are you aiming for a specific vibe?
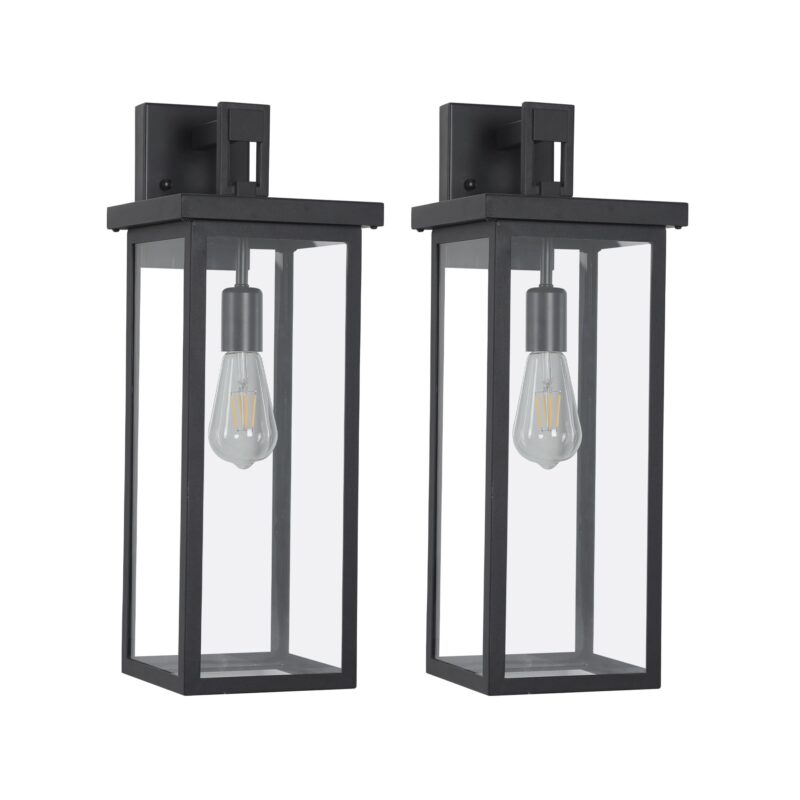
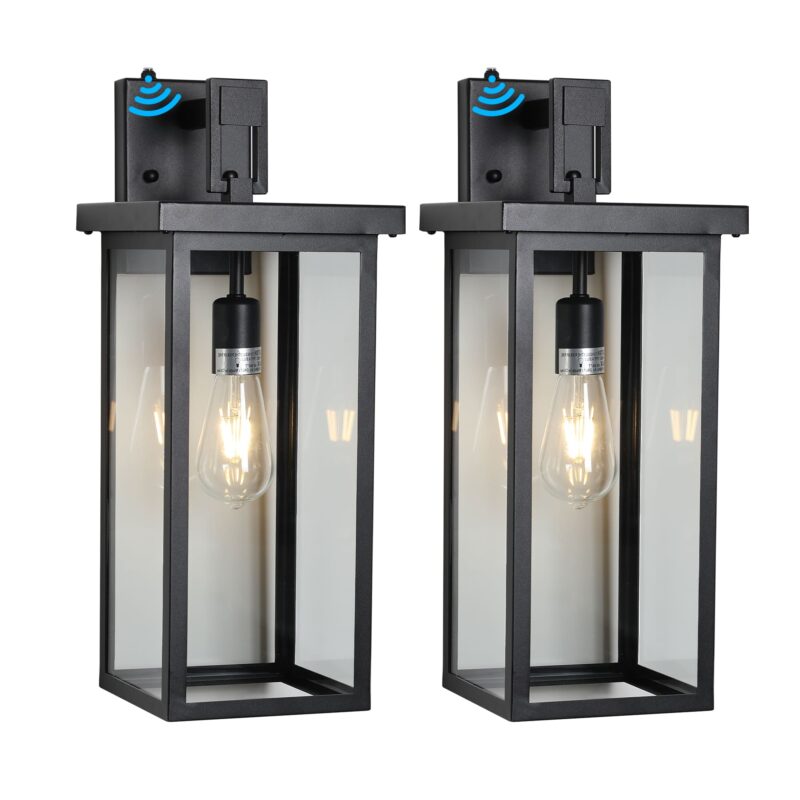
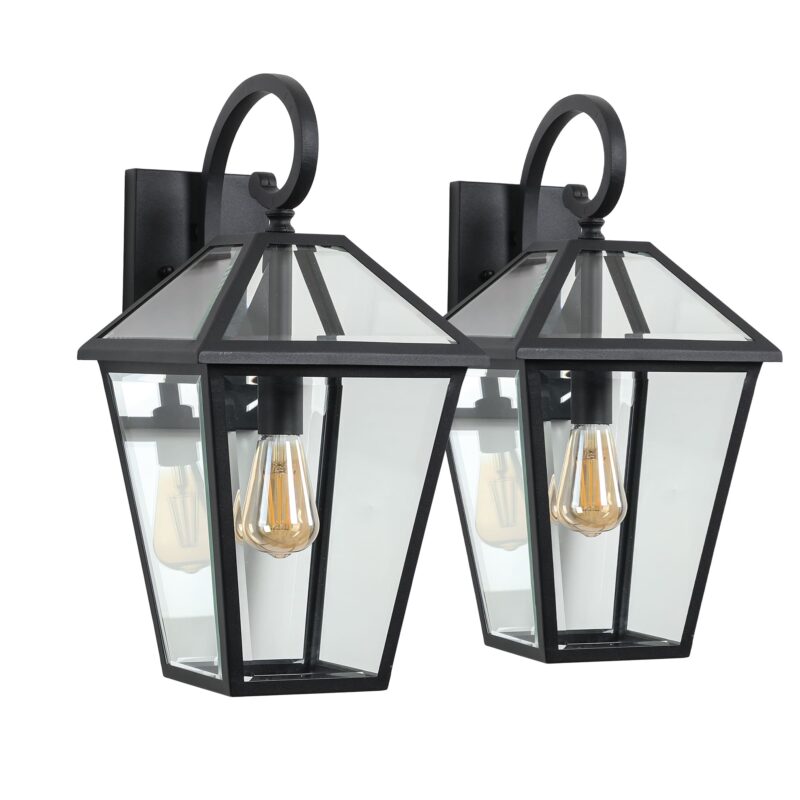
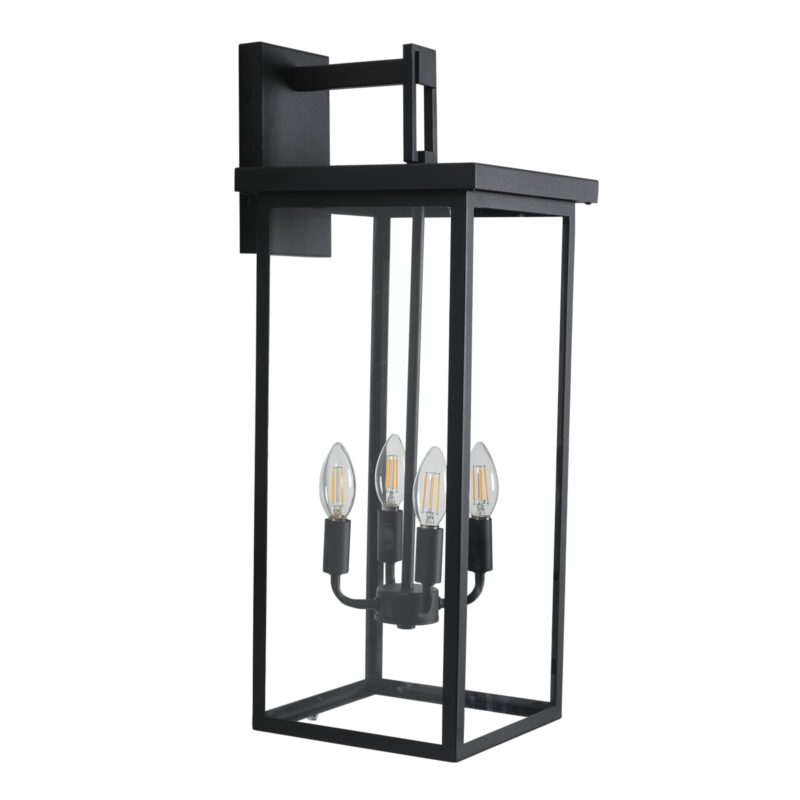
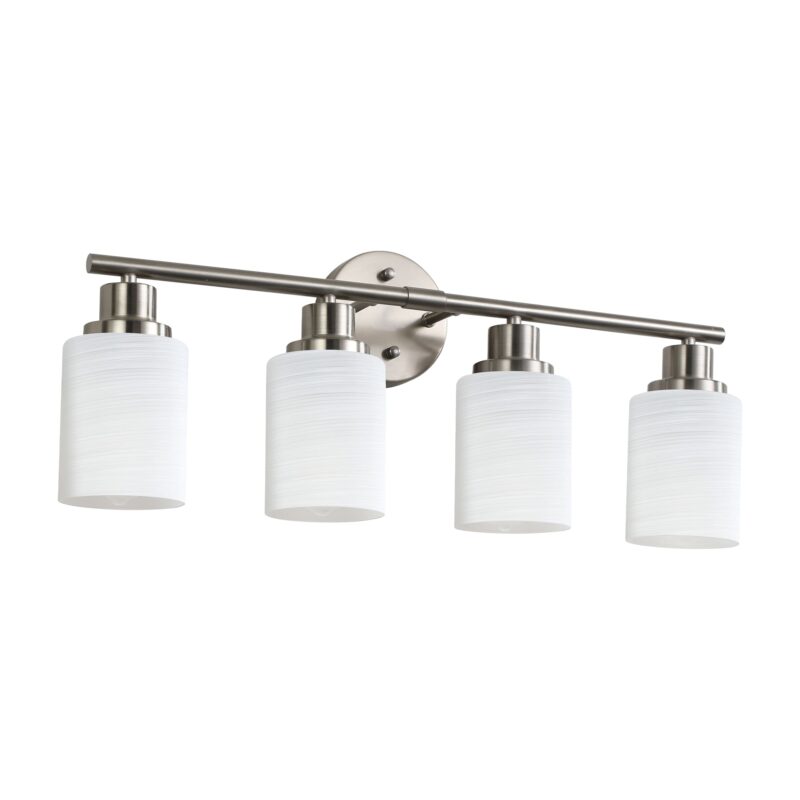
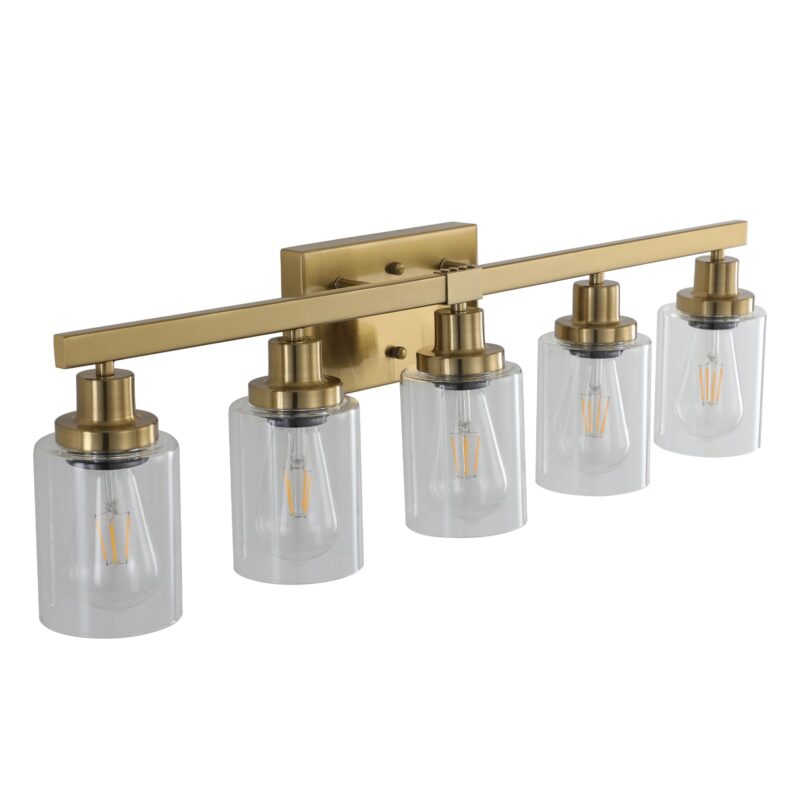
- Hollywood Glamour: Think of fixtures with multiple globe bulbs in a row, like the classic lights around a movie star’s mirror. They provide bright, even light and a touch of drama.
- Rustic & Farmhouse: Look for fixtures with strong details like dark metals (oil-rubbed bronze), wood accents, or clear glass shades that evoke a sense of warmth and simplicity.
- Modern & Minimalist: Sleek lines, simple geometric shapes, and finishes like matte black or chrome define this style. Integrated LED bars are a popular modern choice.
- Traditional: Details like curved arms, frosted glass shades, and classic finishes like brushed nickel or polished brass fit well in a traditional space.
Pro Tip: Don’t forget the finish! Try to match the finish of your light fixture to your faucet and other hardware for a cohesive, put-together look.
Size and Proportion
Size matters. A light that’s too big can overwhelm the space, while one that’s too small will look out of place and won’t provide enough light. Here are some simple rules I follow:
- For a Single Vanity: Choose a fixture that is about 75% of the mirror’s width. A key rule is to never let the fixture be wider than the vanity cabinet itself.
- For a Double Vanity: You have two great options. You can install one long light bar that spans the width of both sinks, or you can place two (or even three) smaller fixtures, such as sconces, to create a more custom look. If using two lights, center one over each sink.
Functionality and Light Output
A bathroom light needs to be functional above all else. Consider how the light is cast:
- Down-lighting: Fixtures with shades that point down are best for task lighting. They direct a focused beam of light onto the countertop, which is perfect for shaving or applying makeup.
- Up-lighting: Fixtures that point up bounce light off the ceiling, creating a softer, more ambient glow. This is great for general illumination but might not be bright enough for detailed tasks on its own.
- LEDs are Your Friend: I almost always recommend fixtures with integrated LEDs or using LED bulbs. Why? They use up to 90% less energy, last for tens of thousands of hours (meaning you might never change a bulb again), and run much cooler, which is a huge plus in a steamy bathroom.
Critical Safety Check: Damp or Wet Location Rating
This isn’t just a suggestion—it’s a must. Bathrooms are high-moisture environments. Your light fixture must be UL-listed with a “damp location” rating. This means it has been tested and certified to operate safely around humidity and condensation. Installing a fixture without this rating is a serious safety hazard. Always check the box or product description for this certification.
What Tools and Materials Do I Need for Installation?
Nothing is more frustrating than starting a project only to realize you’re missing a crucial tool. I’ve been there! Let’s avoid that by gathering everything you need ahead of time. Here is a complete checklist combining the essentials from every pro guide.
| Your Complete Vanity Light Installation Checklist | |
|---|---|
| Essential Tools |
|
| Essential Materials |
|
| Potential Wall Prep Materials |
|
Design and Placement: Where Exactly Should the Light Go?
Proper placement is the secret to getting that high-end, designer look. It’s not just about aesthetics; it’s about getting the best possible light without harsh shadows. The right height and spacing make all the difference.
For Fixtures Mounted Above the Mirror
This is the most common setup. The goal is to light your face evenly from above.
- Standard Height: Aim to mount the fixture so the center of its backplate is between 75 and 80 inches from the floor. This is a comfortable height for most people.
- Spacing from Mirror: A good rule of thumb is to leave at least 2-3 inches of space between the top of your mirror and the bottom of the light fixture.
For Sconces Mounted Beside the Mirror
This is my personal favorite for the best possible task lighting because it illuminates your face from both sides, eliminating shadows under your eyes and chin.
- Standard Height: The center of the sconces should be roughly at eye level. For most people, this is between 64 and 66 inches from the floor.
- Spacing Apart: The sconces should typically be 36 to 40 inches apart, flanking the mirror. You also want to keep them at least 4 inches away from the mirror’s edge to avoid weird reflections.
Preparing the Wall for the New Fixture’s Footprint
Here’s a step many people miss. Your new light might have a smaller base (called a backplate) than your old one. This can leave you with an unpainted outline or old screw holes on display. Let’s prevent that.
Before you do anything else, hold the new fixture’s backplate up to the wall over the existing one. Does it cover everything? If not, you’ll need to do some minor wall repair. It’s much easier to do this now than after the new light is installed. Simply trace the new fixture’s outline lightly with a pencil, remove the old fixture, and then use spackle to patch any holes or marks outside of that line. Once it’s dry, sand it smooth, prime, and paint. Now you have a perfect canvas for your new light!
Safety First: The Unskippable Electrical Preliminaries
Alright, let’s talk about the most important part of this entire process: safety. Working with electricity is perfectly safe if you follow the rules, but it’s unforgiving if you don’t. This section is short, but it’s the one you absolutely cannot skip. I treat these steps like a pilot’s pre-flight checklist every single time I do an electrical project.
How to Safely Turn Off Power at the Circuit Breaker
- Locate Your Breaker Box: First, you need to find your home’s main electrical panel. It’s usually in the basement, garage, a utility closet, or a hallway. It will be a gray metal box.
- Identify the Correct Breaker: Open the panel door. Ideally, the breakers are labeled, and you can find the one for your bathroom. Flip it firmly to the “OFF” position.
- If It’s Unlabeled: This is common in older homes. You’ll need a helper. Have them stand in the bathroom and watch the light. Go back to the panel and start flipping breakers one by one. When the light goes out, you’ve found the right one!
Pro Tip: Once you find the correct breaker, label it! Use a permanent marker or a label maker to write “Bathroom Lights” or something similar next to the switch. Your future self will thank you.
- Leave a Note: This is a simple trick that prevents accidents. Put a piece of tape over the breaker switch with a note that says, “Do Not Turn On. Working on Circuit.” This ensures no one in your household accidentally flips it back on while you’re working.
How Do I Confirm the Power is OFF? (The Double-Check Protocol)
This is where your most important tool comes into play: the non-contact voltage tester. It’s an inexpensive pen-shaped device that will light up and/or beep if it detects a live current. Trusting the breaker alone is not enough. You must verify.
- First Check (The Switch): Go back to the bathroom and flip the wall switch for the vanity light on and off a few times. The light should not turn on. This is a good first sign, but it’s not proof.
- Second, Crucial Check (The Tester): Turn on your voltage tester (make sure it has fresh batteries!). Test it on a nearby outlet you know is working to confirm the tester itself is functioning. Now, hold the tip of the tester right next to the light switch. It should not light up or beep. Later, when you expose the wires of the old fixture, you will do this again right on the wires themselves before you touch them. This is your final confirmation that the circuit is dead.
When Should You Stop and Call a Professional Electrician?
Being a smart DIYer also means knowing your limits. There are a few situations where you should put down your tools and call a licensed electrician. There is no shame in this—it’s the responsible choice.
| Red Flag Situation | Why You Should Stop |
|---|---|
| No Ground Wire | If you open the junction box and only see black and white wires, but no bare copper or green wire, your system may be ungrounded. This is a safety issue that needs a professional assessment. |
| Aluminum Wiring | If the wires are a dull silver/gray color instead of copper, you have aluminum wiring. This was used in some homes in the 60s and 70s and is known to be a fire hazard if not handled with special connectors and techniques. Do not proceed. |
| Damaged or Missing Junction Box | The electrical box in the wall must be secure. If it’s loose, cracked, or if there’s no box at all (just wires coming through drywall), you need an electrician to install or replace it properly. |
| You Feel Unsure | If at any point the wiring looks confusing, you feel uncomfortable, or you’re just not 100% confident, stop. A quick service call to an electrician is a small price to pay for peace of mind and your safety. |
The Step-by-Step Installation Guide
Okay, the planning is done and the power is safely off. Now for the fun part! We’re going to walk through this process one step at a time. Take a deep breath—you’ve got this. We’ll go slowly and deliberately, making sure every connection is perfect.
Step 1: Remove the Old Light Fixture
Let’s get the old fixture out of the way to make room for the new one.
- 1a. Remove Shades and Bulbs: Carefully unscrew any glass shades or covers and remove all the light bulbs. Find a safe spot to set them down where they won’t roll away or break.
- 1b. Loosen the Fixture: Look for the small decorative nuts or screws on the base of the fixture (the backplate). These are what hold it to the wall. Use your screwdriver or fingers to loosen and remove them.
- 1c. Support and Expose Wires: As you remove the last screw, be ready to support the full weight of the fixture with one hand. Don’t let it just fall and hang by the electrical wires. Gently pull the fixture away from the wall until you can see the wiring behind it.
- 1d. Final Voltage Test: Remember our double-check protocol? Now is the time for that final confirmation. Touch the tip of your voltage tester to each of the wire connections. It should remain silent. Now you know for certain it is safe to proceed.
- 1e. Disconnect the Wires: You’ll see three sets of wires held together by plastic caps called wire nuts. To remove them, simply twist them counter-clockwise, just like unscrewing a bottle cap. Once the nuts are off, gently untwist the wires to separate them.
- 1f. Remove the Old Mounting Bracket: With the old fixture free, the only thing left on the wall is its mounting bracket (a metal bar or plate screwed to the electrical box). Unscrew it from the junction box and set it aside with the old fixture.
Step 2: Prepare the Wall and Junction Box
With a clean slate, let’s make sure everything is ready for the new light.
- 2a. Inspect the Junction Box: Take a look at the electrical box in the wall. Is it securely fastened to the stud? Does it feel solid? Make sure there are no cracks or damage.
- 2b. Clean the Area: The inside of a junction box can get dusty. Use a dry cloth or an old paintbrush to gently clean out any dust, debris, or cobwebs.
- 2c. Prepare the Wires: Look at the copper ends of the wires coming from your wall. Are they bent, corroded, or frayed? For the best possible connection, you want clean, fresh copper. If they look old, use your wire strippers to snip off the very end and strip about 3/4 of an inch of the plastic insulation off to expose new wire.
Step 3: Install the New Mounting Bracket
The mounting bracket is the backbone of your installation. Getting it right ensures your light will be secure and level.
- 3a. Unpack and Read Instructions: Every fixture is a little different. Take a moment to unbox your new light and look at the manufacturer’s instruction sheet. It will show you the specific parts for your model.
- 3b. Assemble the Bracket: Your new bracket will likely be a metal crossbar or plate. Find the two long mounting screws and thread them through the bracket so they face outward, away from the wall. Use the small nuts included to hold them in place.
- 3c. Attach the Bracket to the Junction Box: Carefully feed the house wires through the large center hole of the new bracket. Align the screw holes on the bracket with the screw holes on your junction box. Use the screws provided to attach the bracket firmly to the box.
- 3d. The All-Important Level Check: Before you fully tighten those screws, place your level across the top of the mounting bracket. Is it perfectly horizontal? Adjust it until the bubble is centered. A crooked bracket will lead to a crooked light, and that will drive you crazy every time you look at it. Trust me on this one. Once it’s level, tighten the screws completely.
Step 4: Wire the New Vanity Light (The Critical Step)
This is the moment of truth. It’s simpler than it looks. We’re just matching colors: ground-to-ground, white-to-white, and black-to-black. Have your helper hold the fixture up close to the wall for you; it makes this part infinitely easier.
- 4a. The Ground Connection (Green/Bare Copper): Safety first! This wire protects against electric shock. Take the bare copper (or green) wire from the wall and the corresponding ground wire from your new fixture. Twist the copper ends together clockwise. If your new mounting bracket has a green screw on it, it’s good practice to loop one of the ground wires around this screw before twisting them together. Secure the connection by twisting on a wire nut until it’s snug.
- 4b. The Neutral Connection (White): Next, find the white (neutral) wire from the wall and the white wire from the fixture. Hold their copper ends parallel and twist them together clockwise. Screw on a wire nut until it’s tight.
- 4c. The Hot Connection (Black): Finally, do the same with the black (hot) wires. Twist the ends together clockwise and secure them with a wire nut.
- 4d. The “Tug Test” and Tape: This is a pro move for a rock-solid connection. After tightening each wire nut, give a gentle tug on each wire. They shouldn’t pull out. If they do, the connection isn’t secure. Unscrew the nut and twist them together again. For extra security, I like to wrap each wire nut with a bit of electrical tape, starting from the base of the wires and going up over the nut. This helps ensure the nut never vibrates loose over time.
Step 5: Mount the New Fixture to the Wall
The hard part is over! Now let’s get this beautiful new light into place.
- 5a. Tuck the Wires: Carefully and neatly push all the connected wires back into the junction box. Make sure they aren’t pinched or crammed in a way that puts stress on the connections.
- 5b. Align the Fixture: Pick up your new fixture and align the holes in its backplate with the long mounting screws that are sticking out from the bracket you installed.
- 5c. Secure the Fixture: Push the fixture’s backplate so it sits flush against the wall. Now, take the decorative nuts or caps that came with the light and thread them onto the mounting screws. Hand-tighten them first. Then, give them a final quarter-turn with pliers to make them snug. To avoid scratching the finish, wrap the jaws of the pliers in a soft cloth. Be careful not to overtighten!
Step 6: Install Bulbs, Shades, and Finishing Touches
We’re on the home stretch. Time to bring your new fixture to life.
- 6a. Install Light Bulbs: Screw in the light bulbs. Always check the sticker on the light socket for the maximum allowable wattage and never exceed it. This is a critical fire safety measure.
- 6b. Attach Glass Shades: If your fixture has glass shades, now is the time to install them. Most styles use a threaded socket ring that you unscrew, place the shade over the socket, and then screw the ring back on to hold it in place. Only tighten this by hand—using a tool can easily crack the glass.
- 6c. Clean the Fixture: Your new light is probably covered in fingerprints by now. Use a soft, dry microfiber cloth to wipe down the fixture, shades, and bulbs for a perfect, sparkling finish.
Step 7: Restore Power and Test Your Work
The moment we’ve all been waiting for.
- 7a. Final Check: Step back and take one last look. Is the fixture straight? Are the shades secure? Everything looks good? Great.
- 7b. Turn the Power Back On: Head back to your circuit breaker panel. Remove your warning note and flip the breaker firmly back to the “ON” position.
- 7c. The Moment of Truth: Walk back into the bathroom, take a deep breath, and flip the wall switch. Let there be light! Take a moment to admire your handiwork. You did it.
Troubleshooting Common Installation Issues
Sometimes, even with the best preparation, things don’t go as planned. Don’t panic! Most issues are simple fixes. Here’s a quick guide to the most common problems and how to solve them.
Why Isn’t My New Light Turning On?
This is the most common issue. Let’s work from simplest to most complex.
- Check the Obvious: I know it sounds silly, but first, double-check that the circuit breaker is fully in the “ON” position and that the wall switch is on.
- Check the Bulbs: Are the light bulbs screwed in all the way? Try testing one of the bulbs in another lamp you know works to make sure the bulb itself isn’t faulty.
- Check the Wiring: Nine times out of ten, this is the culprit. A loose connection is all it takes. TURN THE POWER OFF AT THE BREAKER AGAIN, verify with your tester, and then remove the fixture to inspect your three wire connections. Make sure the copper ends are twisted together firmly inside the wire nut. Re-secure them and try again.
Why Is My Light Flickering?
Flickering is almost always a sign of a loose wire. Follow the same steps as above: turn off the power, verify it’s off, and tighten your wire nut connections. It can also sometimes be caused by an incompatible dimmer switch if you have one. If you installed an LED fixture on an old dimmer, you may need to upgrade to a new LED-compatible dimmer switch.
What If the Fixture Isn’t Flush with the Wall?
A small gap between the fixture’s backplate and the wall can be annoying. Here are two likely causes:
- The Junction Box Isn’t Flush: If the electrical box in your wall is recessed too far back or sticks out too far, it can prevent the fixture from sitting flat. You may need to adjust the box or use a special mounting bracket to compensate.
- Wires Are in the Way: You might simply have a bundle of wires bunched up behind the backplate, preventing it from sitting flat. Turn the power off again, take the fixture down, and carefully arrange the wires inside the junction box so they are as flat as possible.
FAQ
You’ve got questions, and we’ve got answers. Here are some of the most frequently asked questions about installing bathroom vanity lights.
- Can I replace a vanity light myself?
- Absolutely! If you have basic DIY skills, can follow safety procedures carefully, and your home has standard, modern wiring, this is a very achievable project. The key is to be meticulous about turning off the power and verifying it with a tester.
- How long does it take to replace a vanity light?
- For a first-timer, I’d budget about 1 to 2 hours. This gives you plenty of time to work carefully and double-check everything. An experienced DIYer can often get it done in under an hour.
- What type of light bulb is best for a bathroom vanity?
- LEDs are the clear winner for their energy efficiency and long life. But more importantly, pay attention to the color temperature. Look for bulbs in the “daylight” or “natural light” range (around 5000K) for the most accurate color rendering—perfect for makeup application.
| Bulb Type | Pros | Cons |
|---|---|---|
| LED | Extremely energy-efficient, lasts 15-25 years, runs cool, excellent color accuracy available. | Higher initial cost (but saves money over time). |
| Halogen | Bright, crisp white light. | Gets very hot, short lifespan, not energy-efficient. |
| CFL | More efficient than incandescent. | Can take time to warm up to full brightness, contains mercury, light quality can be poor. |
- Do I need a junction box to install a light fixture?
- Yes, 100%. An electrical junction box is required by code. It safely contains the wire connections to prevent fires and provides a secure anchor to support the weight of the fixture. Never mount a fixture directly to drywall.
- How do I replace just the socket on a vanity light?
- It’s a similar process. After turning off the power, you’ll need to disassemble the fixture to access the faulty socket. You’ll disconnect the two wires leading to it, connect the new replacement socket (matching wires), and reassemble the fixture.
Conclusion: Enjoy Your Brighter Bathroom!
Congratulations! You’ve successfully navigated the entire process, from planning and safety checks to the final installation. You’ve replaced your old, tired vanity light with a beautiful new fixture that not only brightens your space but also adds a significant touch of style. Step back and admire your work. You’ve tackled an electrical project with care and precision, and the result is a functional, beautiful upgrade you’ll enjoy every single day.
This project proves that with a little knowledge and a focus on safety, you can make meaningful improvements to your home yourself. You’ve added value, enhanced your daily routine, and learned a valuable new skill along the way.
Ready to tackle your next project? With the confidence you’ve gained today, the possibilities are endless. Brighten up your home, one fixture at a time!

About LightingDepotUSA
The LightingDepotUSA Editorial Team specializes in wholesale lighting trends, showroom strategies, and supply chain solutions tailored for independent retailers across the U.S. With years of experience in both manufacturing and distribution, we provide practical insights to help small businesses grow, reduce costs, and stay competitive.
View all posts by LightingDepotUSA